 Domain NamesFind and register your ideal domain name instantly.
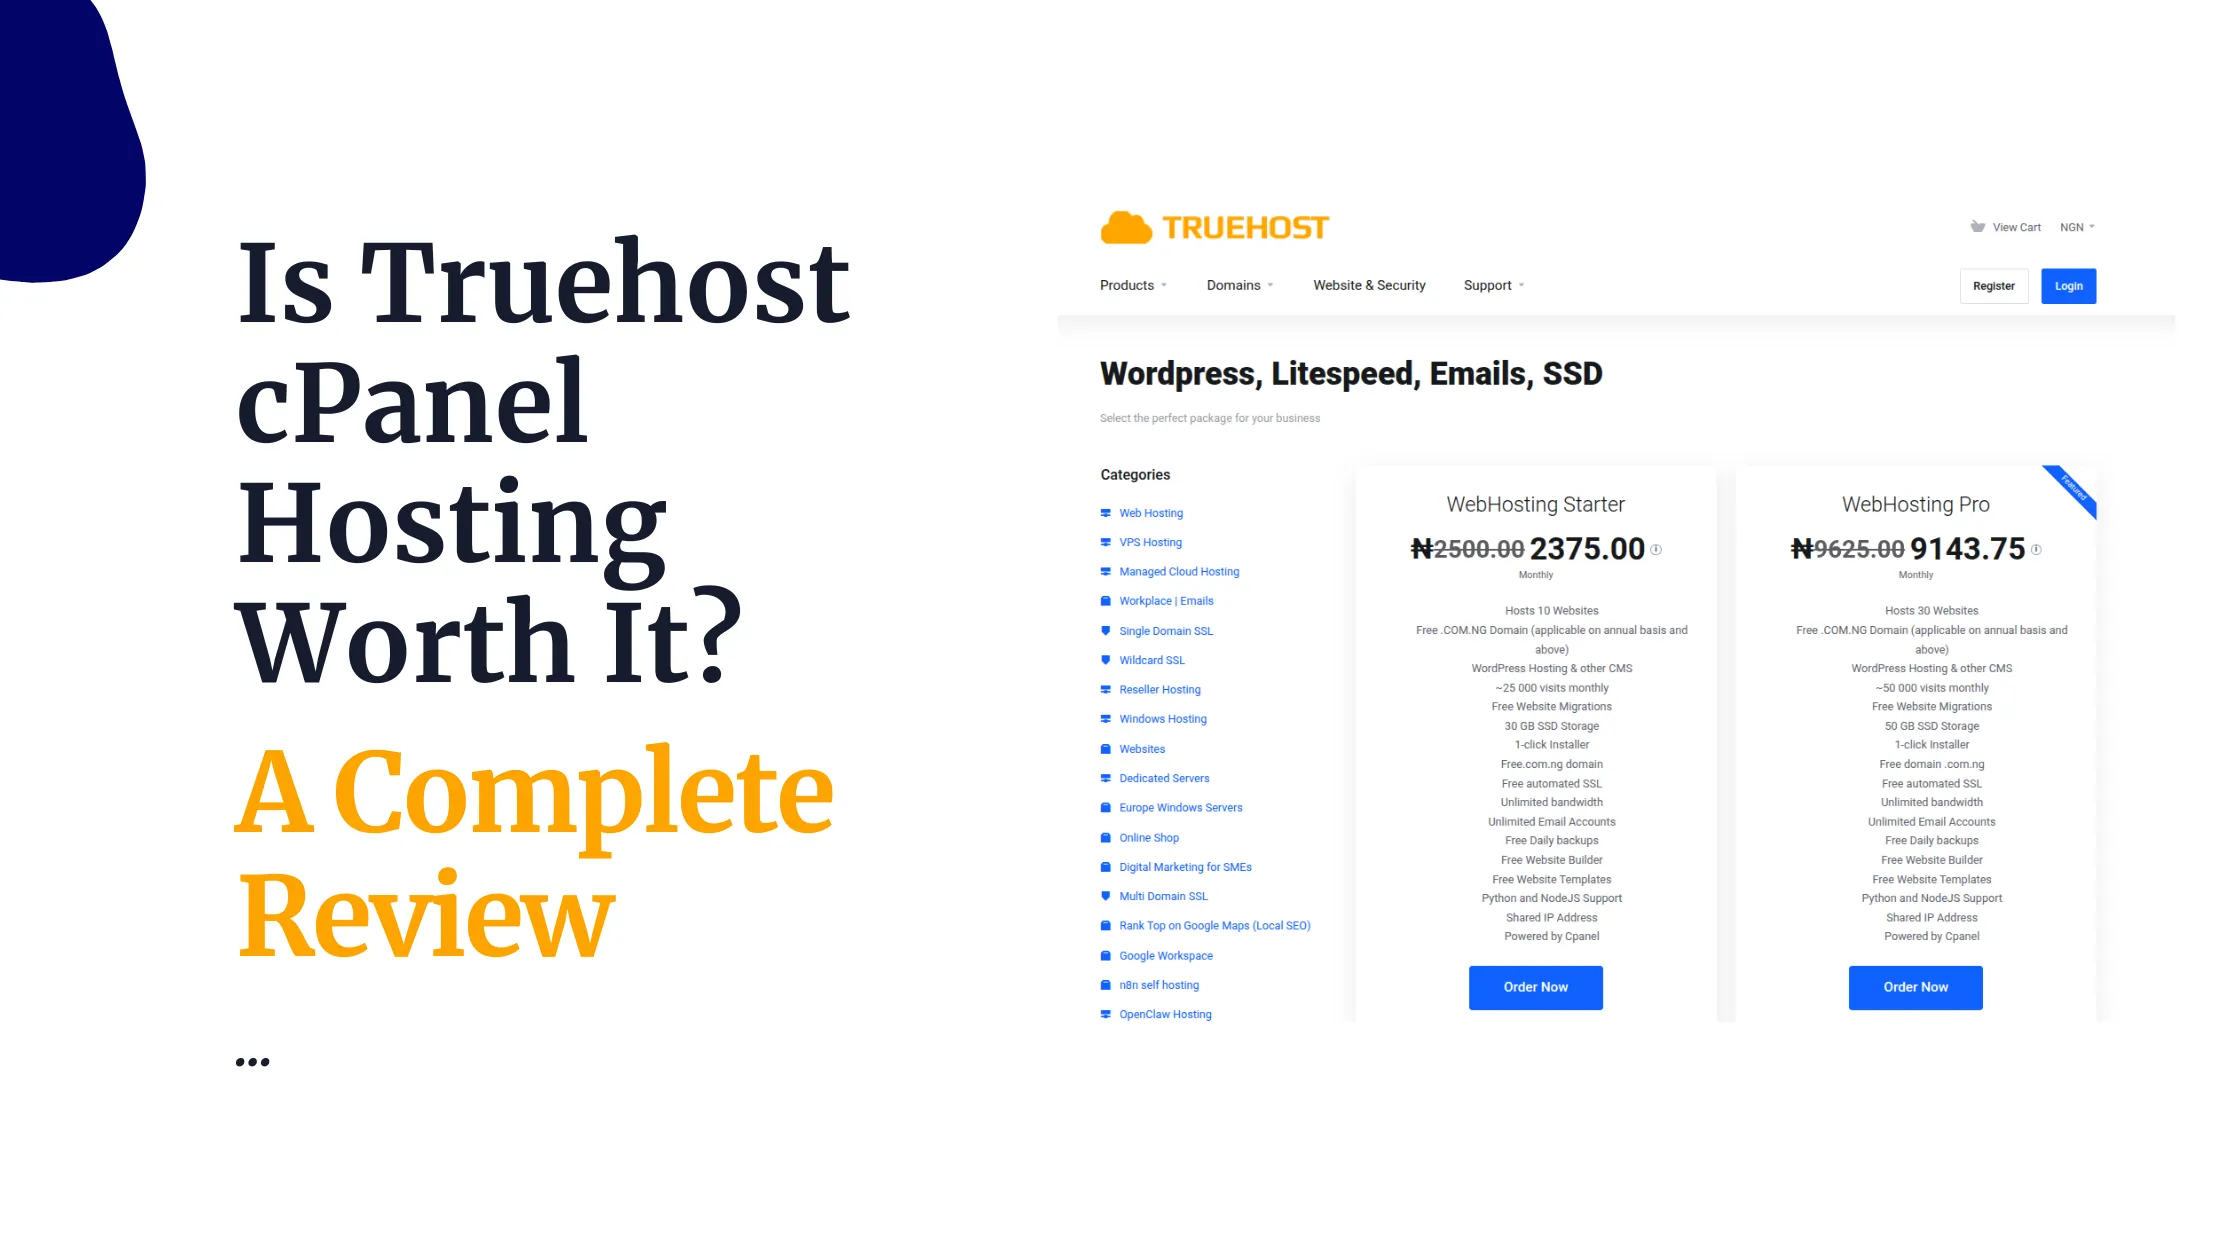
 Web HostingEasy-to-use hosting powered by cPanel — ideal for managing websites in Nigeria.
 Windows HostingRun .NET apps with Windows-optimized hosting
 Affiliate ProgramMake money promoting our services
 Reseller HostingMake money by reselling our hosting products under your own brand
 .COM Domains
 All DomainsExplore all supported tld domains in Nigeria
 WhoisFind out who owns any domain, as well as verify your registration details
 VPS Hosting
 Dedicated ServersReimagine your site speed with your own complete server
 AI Website BuilderDesign your site with drag-and-drop tools
 Online Store BuilderStart your online shop without code
 Support PortalFind answers or get expert help
 Contact UsReach our team via chat or email
 BlogRead our extensive guides on web hosting and more
Cloud AI subscriptions add up fast.
You pay per seat. You pay per message. And your data sits on someone else’s servers the whole time.
If you’ve been quietly Googling how to self-host AI agents with OpenClaw VPS, you’re not alone.
OpenClaw has become one of the fastest-growing open-source AI agent projects around, and for good reason.
It runs your own AI assistant, on your own server, connected to the apps you already use.
No monthly per-seat fees. No vendor locking your workflows in. Just your agent, your rules.
This guide walks you through how to self host ai agents with OpenClaw VPS. From picking a plan to running your first automated task. Here’s what we’ll cover:
- Choosing the right VPS plan for your workload
- Setting up your account and getting deployed
- Connecting an AI model and your favorite apps
- Installing skills, troubleshooting issues, and staying updated
Let’s get your agent live.
Step 1: Choose Your Plan
Your plan decides how much your agent can do. Start here.
We at Truehost offer three OpenClaw VPS tiers, each pre-configured and ready to deploy.
| Plan | Price (Triennial Billing) | RAM | Storage | Bandwidth |
|---|---|---|---|---|
| OpenClaw Starter | NGN 14,000/mo | 2 GB | 50 GB NVMe | 4 TB |
| OpenClaw Pro | NGN 28,000/mo | 4 GB | 100 GB NVMe | 6 TB |
| OpenClaw Business | NGN 63,000/mo | 8 GB | 200 GB NVMe | 8 TB |
How to decide:
- Light automation (a few Telegram commands a day, occasional research tasks) → Starter is enough.
- Active workflows (multiple channels, frequent skill use, business-hours activity) → Pro is the safer pick.
- Heavier workloads, or you plan to run a local model through Ollama alongside cloud models → Business gives you the RAM headroom.
Here’s the thing about RAM specifically. If you only connect to cloud AI providers like Claude or OpenAI, even the Starter plan handles it fine; the model does the heavy lifting elsewhere.
If you want a local model running on the same box, you’ll need more room. More on that in Step 8.
What’s included on all plans:
- Full root SSH access
- Pre-configured OpenClaw environment
- Dedicated vCPU cores (1 on Starter, 2 on Pro, 4 on Business)
- Automated daily snapshots
- Deploy time under 45 seconds
You’re not waiting hours for a working environment. You’re minutes away from a running agent.
Step 2: Select Add-Ons and Complete Checkout
Before you check out, a few quick decisions.
Domain options. You can connect an existing domain or register a new one. .com, .com.ng, .ng, and other TLD choices are available at checkout, priced individually.
Auto SSL. Once your domain is connected, SSL gets applied automatically. Your dashboard and any public-facing endpoints load over HTTPS by default. No manual certificate work.
Optional add-ons. Two are worth considering upfront:
- Backups: beyond the default snapshots, added backup frequency gives you more recovery points.
- Dedicated IP: useful if a skill or integration you plan to use requires a fixed, whitelisted IP address.
Neither is mandatory. Add them only if your workflow needs them.
Step 3: Create Your Account and Pay
Now for checkout itself.
- Create a Truehost account, or log in if you already have one.
- Review your order summary, plan, add-ons, and domain (if selected).
- Choose your payment method. Nigerian customers can pay by card or other locally supported options at checkout.
- Confirm and pay.
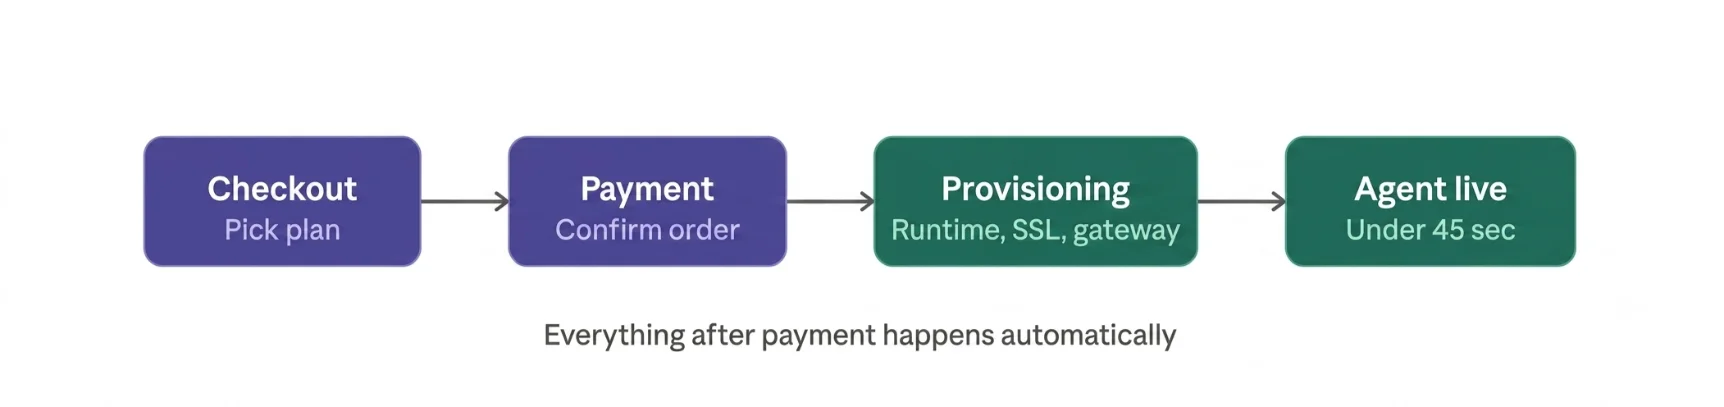
What happens automatically after payment:
- Your VPS gets provisioned
- The OpenClaw runtime installs
- The AI gateway is wired up
- SSL activates on your domain
You don’t touch a terminal for any of this. It’s the point of a managed OpenClaw hosting setup the infrastructure work happens in the background.
Step 4: Save Your Gateway Token
This one small step trips people up. Don’t skip it.
Your gateway token is what authenticates your agent to the OpenClaw runtime. Without it, you can’t access your dashboard or reconnect your agent if a session drops.
Treat it like a password, because it functions like one.
Store it properly:
- Use a password manager (1Password, Bitwarden, or similar)
- Or an encrypted notes app
- Never as plain text in an email, a chat thread, or a sticky note on your desktop
If you lose it, don’t panic. You can retrieve or regenerate your token from your account dashboard under your OpenClaw service details.
Step 5: Deploy and Wait
This part is refreshingly boring. In a good way.
Everything is automated:
- VPS provisioning
- Runtime and core package installation
- Gateway, plugin, and SSL wiring
- Domain connection
You selected your OpenClaw hosting plan. You paid. Now the system does the rest.
Expected deploy time is under 45 seconds for most orders. Grab a coffee. It’ll likely be done before it’s ready.
Step 6: Open Your Dashboard
Time to see your agent for the first time.
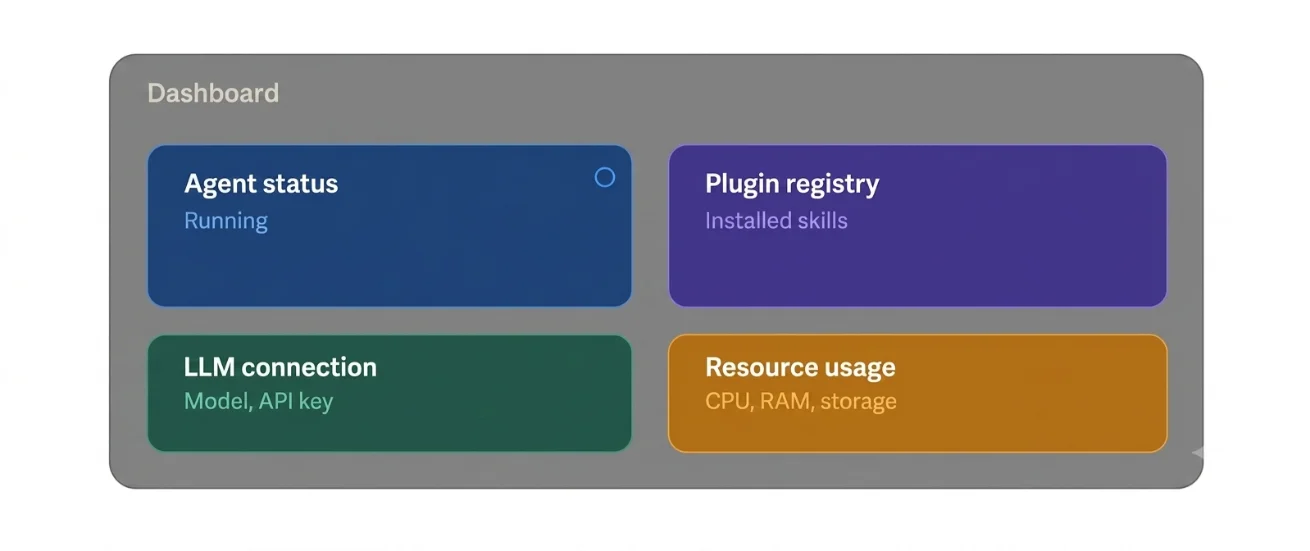
Access it two ways:
- Through your connected domain, if you set one up
- Via an SSH tunnel, on unmanaged plans without a domain attached
What you’ll see on the dashboard:
- Agent status (running, idle, or stopped)
- Plugin registry: everything currently installed
- LLM connection panel where you’ll add your AI model in Step 8
- Resource usage: RAM, CPU, and storage in real time
One security note, and it’s an important one: never expose the Control UI to a public IP without authentication in front of it. Your dashboard controls an agent with real system access. Treat it accordingly; keep it behind SSH, a VPN, or proper login credentials at all times.
Step 7: Set Up Your Admin Account and Verify Your Instance
Your first login creates the admin account. Make it count.
Use a strong, unique password here. This account has full control over your agent, so don’t reuse a password from somewhere else.
Quick verification checklist before you move on:
- [ ] Runtime shows as active
- [ ] Dashboard loads without errors
- [ ] Test message sent and received successfully
If all three check out, your instance is healthy.
Areas worth a look before you go further:
- Skills: what your agent can currently do
- Active channels where it’s currently listening
- Performance tuning resource limits and thresholds
- Notifications how you’ll be alerted to issues
Step 8: Connect an AI Model
Your agent needs a brain. This is where you plug one in.
OpenClaw is provider-agnostic. You can run it with Claude, GPT, Gemini, Mistral, Groq, or local models through Ollama.
Connection steps:
- Open the LLM panel on your dashboard.
- Paste your API key from your provider of choice.
- Select the specific model you want your agent to use.
- Send a test message to confirm the connection.
A note on token cost. Pricing varies noticeably by provider and model tier cheaper models cost less per message but reason less carefully, while flagship models cost more but handle complex, multi-step tasks better.
It’s worth starting on a mid-tier model and adjusting once you see your actual usage pattern.
The Ollama caveat. If you want to run a model locally instead of through an API, remember the RAM math from Step 1.
A 7B parameter model needs roughly 8 GB of RAM at typical quantization, and a 13B model needs closer to 16 GB. That rules out running anything meaningful locally on the Starter plan; you’ll want at least Pro, and realistically Business, if local inference is important to you.
For most self-hosters, a cloud model is the more practical starting point, with local models as a later upgrade.
Step 9: Connect Your Channels and APIs
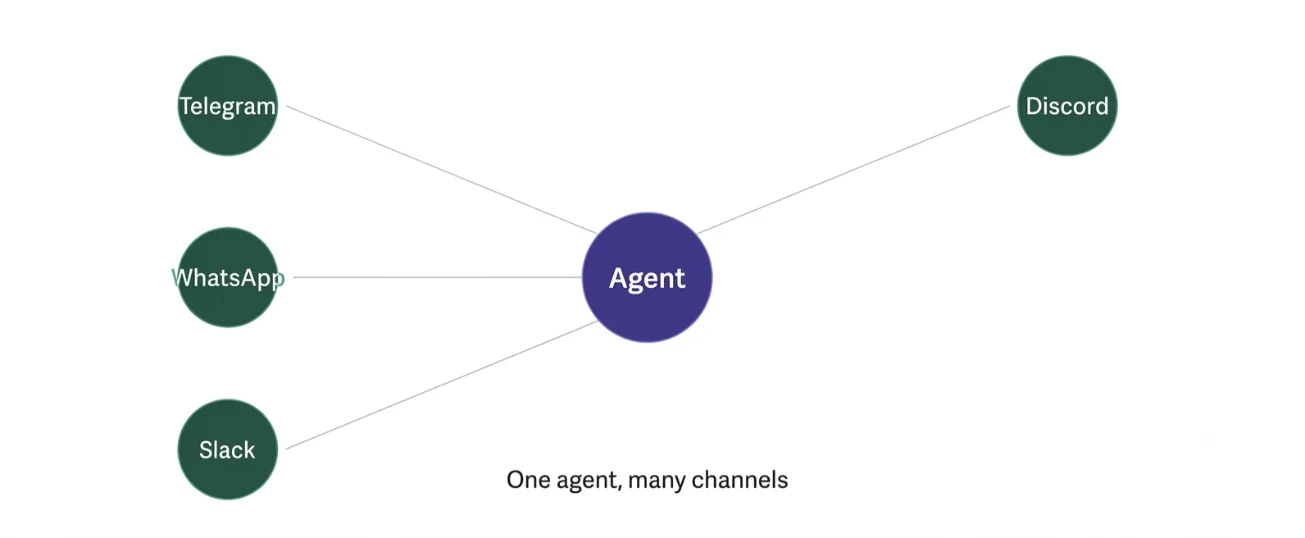
An agent with no channels is just a program running quietly in the background. Give it somewhere to talk.
Start with Telegram. It’s genuinely the easiest setup:
- Message BotFather on Telegram.
- Generate a bot token.
- Paste it into your OpenClaw dashboard.
- Done.
Then expand from there:
- WhatsApp pairs through a QR-style connection flow
- Slack, Discord, Signal, iMessage, Teams each with its own guided connection step
- API and webhook connections for tools like Notion, GitHub, or your own internal systems
Test every channel right after connecting it. Send a message, confirm your agent replies. Catching a broken connection now saves you a confusing debugging session later.
Step 10: Install Skills As You Need Them
Skills are what turn a general assistant into your assistant.
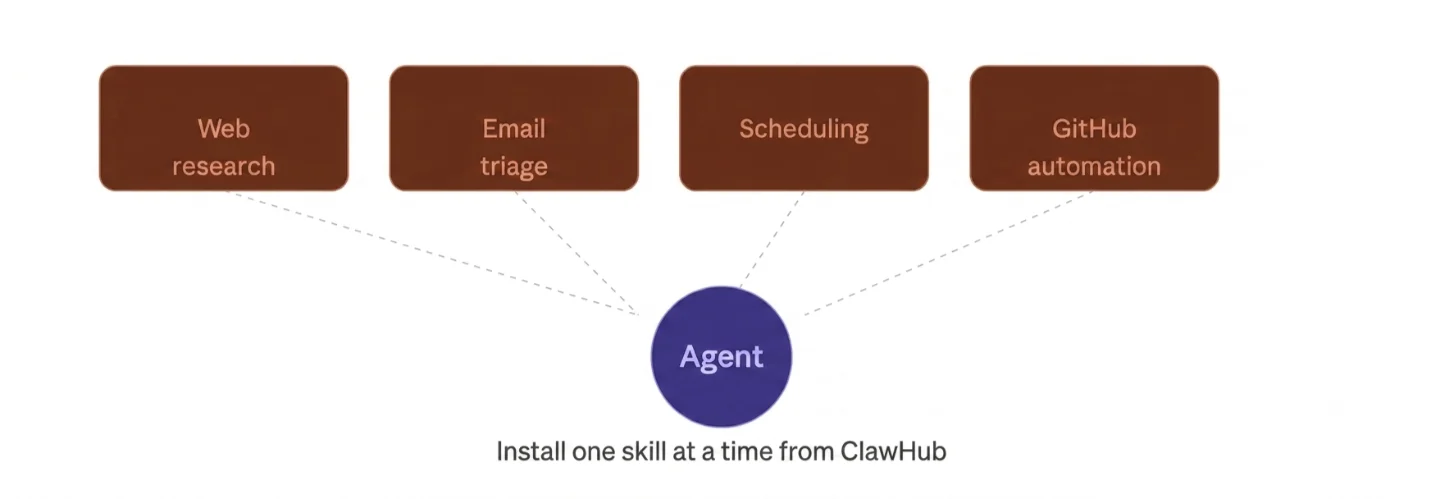
A skill is a packaged set of instructions your agent uses to do something specific draft an email, triage GitHub issues, run a web search. Think of skills like apps on your phone, with OpenClaw as the operating system underneath them.
Common starting skills:
- Web research
- Email triage
- Scheduling
- GitHub automation
- Support bots
Where to find them. ClawHub is the primary skill marketplace built for OpenClaw, with community repositories offering more specialized options beyond the official registry.
Installing from your dashboard:
- Open the Skills section.
- Search by name or use natural-language search.
- Review what the skill does.
- Install and enable it.
Security hygiene is important here. A skill you install runs with real access to your agent. Before installing anything:
- Review what the skill’s code does
- Check what permissions it requests
- Start with one or two skills, not ten at once
Add capability gradually. It’s easier to debug a problem when you’ve only changed one thing at a time.
Troubleshooting Common OpenClaw Self-Hosting Issues
Most issues have simple fixes. Here are the ones you’ll hit most often.
Agent won’t start. Check your runtime logs first. Then check your .env file for missing or malformed variables a missing API key here is the most common cause.
Telegram bot not responding. Confirm your bot token was pasted correctly, with no extra spaces. Then check that the Telegram channel shows as active on your dashboard.
AI model not responding. Verify your API key is valid and has available credit. Then re-run the test message from the LLM panel.
Ollama running out of memory. This usually means your model is too large for your plan’s RAM. Switch to a smaller model, or upgrade your plan see Step 8 for sizing guidance.
OpenClaw running slow. Check your dashboard’s resource usage panel. If CPU or RAM is maxed out, either reduce concurrent tasks or move up a plan tier.
Container deployment issues after updates. Check the update logs for a failed dependency install. Rolling back to your last snapshot, then re-applying the update, usually resolves it.
Self Host AI Agents with OpenClaw VPS FAQs
Can I use OpenClaw to build an app?
Yes. Beyond running as a personal assistant, OpenClaw can be extended and scripted to power custom automations and lightweight applications, particularly through its skill and API integration system.
What are people using OpenClaw for?
Common use cases include inbox and calendar management, GitHub and CI/CD monitoring, scheduled research tasks, and multi-channel support bots. <cite index=”4-1″>Developers also connect it to CI/CD systems, where it monitors builds and flags failures directly through chat</cite> instead of email notifications.
Best Linux distro for OpenClaw?
Ubuntu is the most common choice, and it’s what comes pre-installed on our OpenClaw VPS plans. It has the broadest compatibility with OpenClaw’s dependencies and the most community documentation if you hit an edge case.
You’re Live Now What.
Your agent is running. Here’s how to make the most of it.
It runs 24/7, with no laptop dependency. Close your laptop, go to bed your agent keeps working.
Start simple, then expand. Add one skill, one channel at a time. Resist the urge to connect everything on day one.
Support is there if you need it. Our team can help with VPS-level issues any time.
Upgrades happen live, with no downtime. Scale your plan up as your usage grows, without taking your agent offline.
Keep OpenClaw updated. New versions bring security patches and new features. Check for updates regularly, and always keep a recent snapshot before applying one.
If you’re ready to deploy, our OpenClaw VPS hosting plans are pre-configured and live in under a minute. Pick a tier, connect your model, and start automating.