 DomainsFind and register your ideal domain name instantly.
 Web HostingEasy-to-use hosting powered by cPanel — ideal for managing websites in Nigeria.
 Windows HostingRun .NET apps with Windows-optimized hosting
 Affiliate ProgramMake money promoting our services
 Reseller HostingMake money by reselling our hosting products under your own brand
 .COM Domains
 All DomainsExplore all supported tld domains in Nigeria
 WhoisFind out who owns any domain, as well as verify your registration details
 Dedicated ServersReimagine your site speed with your own complete server
 AI Website BuilderDesign your site with drag-and-drop tools
 Online Shop BuilderStart your online shop without code
 Support PortalFind answers or get expert help
 Contact UsReach our team via chat or email
 BlogRead our extensive guides on web hosting and more
You finished building your ASP.NET app. It runs fine on your laptop. Then reality sets in. “It works on my machine” is not a launch plan, and your app still has no home online.
Now come the real questions. Do you pick Linux or Windows? Which reverse proxy sits in front of your app? What happens the moment you close your SSH session and the app quietly dies?
This guide removes the guesswork. It walks you through every step, from a blank VPS to a live, secured ASP.NET site. Each stage is tested before you move to the next, so nothing is left to chance.
Prerequisites Before You Start
Before you touch a terminal, gather a few things first. This saves you from having to stop halfway through a step to find something.
- A VPS with root or sudo access, running Ubuntu 24.04 LTS
- A registered domain name with access to its DNS settings
- Your ASP.NET Core project is published and ready to move to the server
- An SSH client and basic comfort with terminal commands
Step 1: Secure and Prepare the VPS
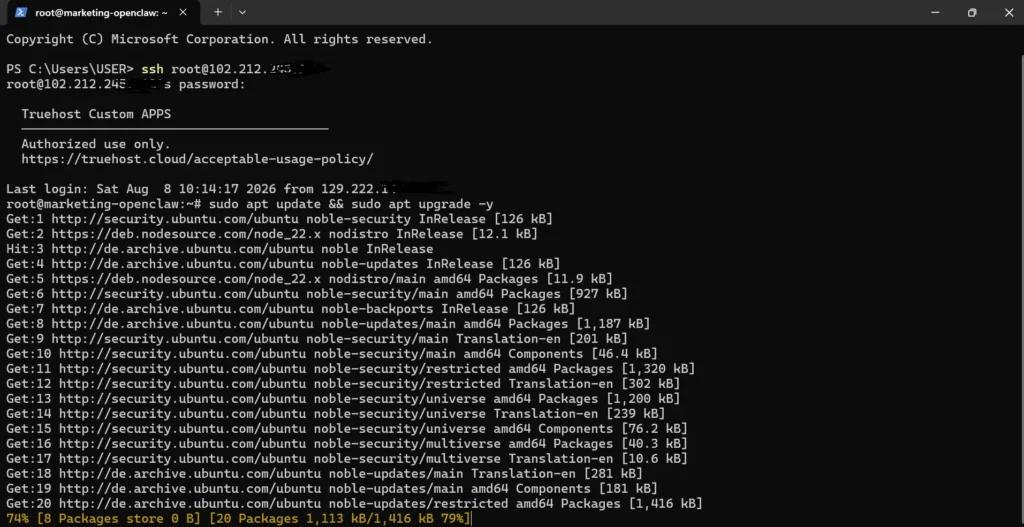
A fresh VPS ships with default settings that leave it open to attack. Lock it down before you install anything else on it.
Start by updating the system so you run current packages from the start.
sudo apt update && sudo apt upgrade -yNext, create a non-root user with sudo access. Running everything as root raises your risk if anything goes wrong later.
sudo adduser deployuser

sudo usermod -aG sudo deployuser
Switch to key-based SSH authentication instead of a password. Copy your public key to the server, then confirm you can log in with it.
ssh-copy-id deployuser@your_server_ipOnce key-based login works, disable root login and password authentication in /etc/ssh/sshd_config. Set PermitRootLogin no and PasswordAuthentication no, then restart SSH.
sudo systemctl restart sshFinally, set up a firewall with UFW. Allow only the ports your app actually needs.
sudo ufw allow OpenSSH

sudo ufw allow 80

sudo ufw allow 443

sudo ufw enable
Step 2: Install the .NET Runtime on the VPS
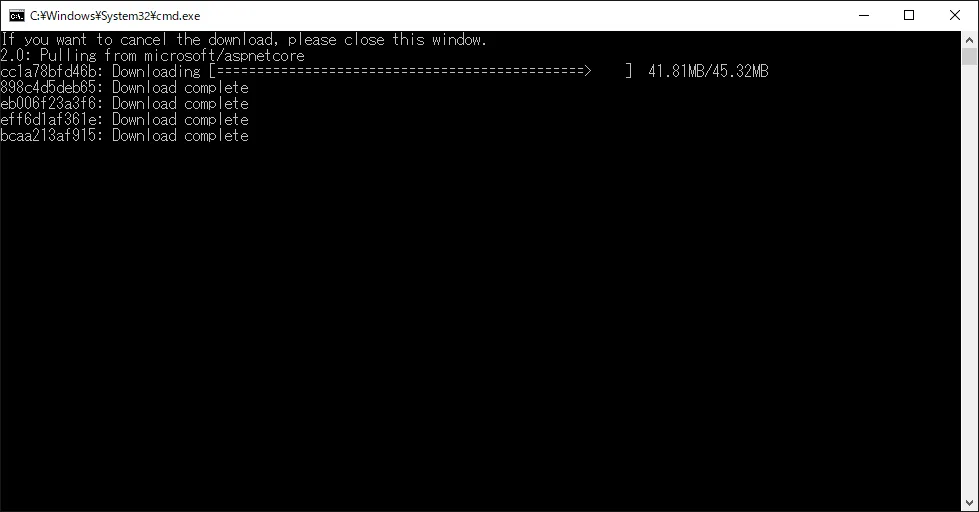
Your ASP.NET Core app requires the corresponding runtime to be installed on the server. Add the Microsoft package repository first, then install the runtime.
wget https://packages.microsoft.com/config/ubuntu/24.04/packages-microsoft-prod.deb -O packages-microsoft-prod.debsudo dpkg -i packages-microsoft-prod.deb
sudo apt update
sudo apt install -y aspnetcore-runtime-10.0.NET 10 is the current long-term support release, so it makes sense as your default choice for a new production app. If your project still targets .NET 8, install that runtime version instead.
Confirm the install worked with this command.
dotnet --infoCheck that the runtime version on the server matches the target framework in your project file. A mismatch here causes startup failures later, so catch it now.
Step 3: Transfer and Publish the Application
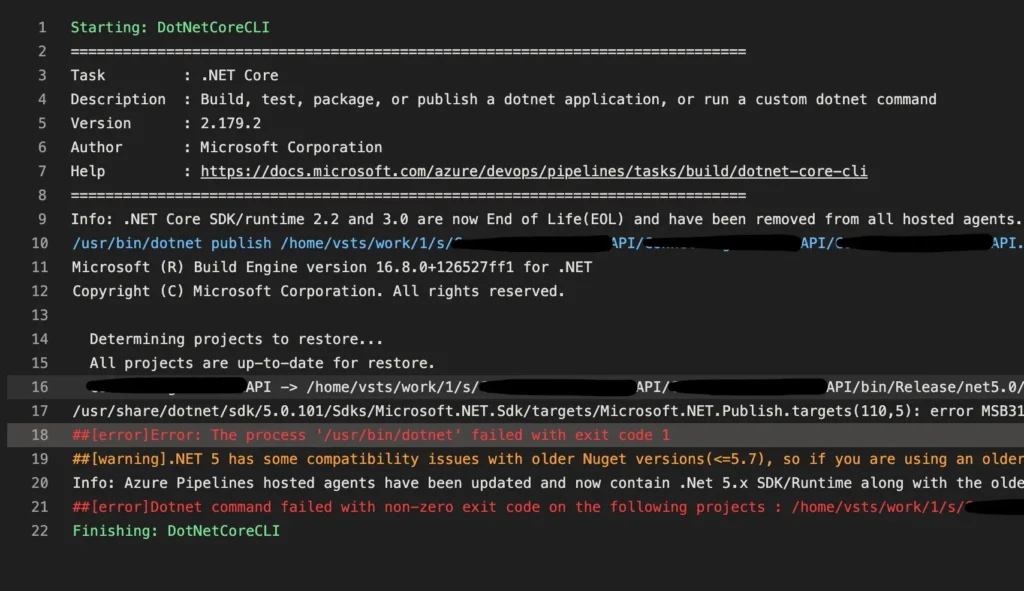
Build your app for production on your local machine first. This trims unnecessary files and optimizes the output for deployment.
dotnet publish -c Release -o ./publishCopy the published folder to your VPS with scp or rsync. Either tool works, but rsync handles repeat transfers more efficiently.
scp -r ./publish deployuser@your_server_ip:/var/www/yourappSet the correct ownership on the app folder once the files land on the server.
sudo chown -R deployuser:deployuser /var/www/yourappBefore moving on, run the app manually to confirm it starts without errors.
cd /var/www/yourapp

dotnet YourApp.dll
If you see the app listening on a local port, you are ready for the next step. Stop the process with Ctrl+C once you confirm it.
Step 4: Keep the App Running with systemd
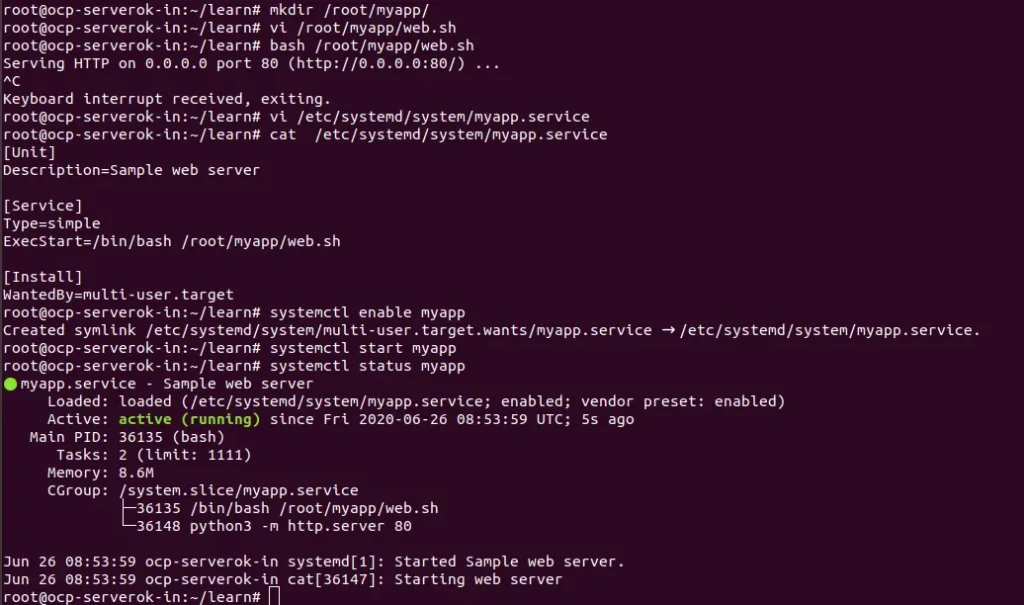
Running the app manually only works while your terminal session stays open. systemd solves this by managing the app as a background service.
Create a new unit file.
sudo nano /etc/systemd/system/yourapp.serviceAdd the following configuration, then adjust the paths to match your setup.
[Unit]

Description=YourApp ASP.NET Core Application

After=network.target

[Service]

WorkingDirectory=/var/www/yourapp

ExecStart=/usr/bin/dotnet /var/www/yourapp/YourApp.dll

Restart=always

RestartSec=10

KillSignal=SIGINT

SyslogIdentifier=yourapp

User=deployuser

Environment=ASPNETCORE_ENVIRONMENT=Production

[Install]

WantedBy=multi-user.target
Enable and start the service.
sudo systemctl enable yourapp.service

sudo systemctl start yourapp.service
Close your SSH session, then reconnect and check the service status. If it still shows active, your app now survives disconnects on its own.
sudo systemctl status yourapp.serviceFor a closer look at what the app is doing, run journalctl to pull its logs.
sudo journalctl -u yourapp.service -fStep 5: Configure Nginx as a Reverse Proxy
Kestrel, the web server built into ASP.NET Core, was never meant to face the public internet directly. Nginx sits in front of it and handles that job instead.
Install Nginx first.
sudo apt install -y nginxCreate a server block for your domain.
sudo nano /etc/nginx/sites-available/yourappAdd this configuration, then replace it with your own domain name.
server {

    listen 80;

    server_name yourdomain.com www.yourdomain.com;

    location / {

        proxy_pass http://localhost:5000;

        proxy_http_version 1.1;

        proxy_set_header Upgrade $http_upgrade;

        proxy_set_header Connection keep-alive;

        proxy_set_header Host $host;

        proxy_cache_bypass $http_upgrade;

        proxy_set_header X-Forwarded-For $proxy_add_x_forwarded_for;

        proxy_set_header X-Forwarded-Proto $scheme;

    }

}
Enable the site, test the config, then reload Nginx.
sudo ln -s /etc/nginx/sites-available/yourapp /etc/nginx/sites-enabled/

sudo nginx -t

sudo systemctl reload nginx
Visit your domain in a browser now. If your app loads over plain HTTP, move on to SSL. If not, check the troubleshooting section below before continuing.
Step 6: Point Your Domain and Secure the Site with SSL
Your DNS records need to point at your VPS before certificates or public access will work correctly. Log in to your domain registrar or DNS provider and add an A record.
Point the A record for your domain at your VPS IP address. Propagation can take anywhere from a few minutes to a few hours.
Once the domain resolves to your server, install Certbot and request a certificate.
sudo apt install -y certbot python3-certbot-nginx

sudo certbot --nginx -d yourdomain.com -d www.yourdomain.com
Certbot automatically updates your Nginx config and sets up HTTP-to-HTTPS redirection for you. Follow the prompts to finish the process.
Auto-renewal is enabled by default through a systemd timer. Confirm it works with a dry run.
sudo certbot renew --dry-runYour site now runs on HTTPS. Nginx handles the certificate at the edge, so Kestrel never has to deal with SSL directly.
Step 7: Redeploy Updates Without Downtime
Your app will need updates after launch, and users should not notice when that happens. Build a repeatable process for this before your first real deploy.
Publish your updated build locally, then copy it to a staging path on the server instead of overwriting the live folder directly.
scp -r ./publish deployuser@your_server_ip:/var/www/yourapp-newSwap the folders once the new build lands, then restart the service.
sudo mv /var/www/yourapp /var/www/yourapp-old

sudo mv /var/www/yourapp-new /var/www/yourapp

sudo systemctl restart yourapp.service
Check that the site loads correctly and the service status shows active. If something breaks, swap the old folder back in and restart the service.
sudo systemctl status yourapp.serviceKeep the previous build folder around for a while after each deploy. A quick rollback beats a long debugging session under pressure.
Why Deploy ASP.NET Core on a Linux VPS
A Linux VPS costs less than a Windows VPS for most small and mid-size ASP.NET Core apps.
Windows licensing adds a monthly fee that Linux servers avoid entirely. For a lean production app, that saving adds up fast.
Modern ASP.NET Core runs across platforms. It no longer needs Windows or IIS to serve traffic.
The legacy .NET Framework still ties you to Windows, but ASP.NET Core does not.
A VPS gives you full control over the server. You choose the operating system, the runtime version, and every security setting. Shared hosting never gives you that level of access.
For a small production app, start with 1-2 vCPUs and 2 GB of RAM. Scale up once traffic exceeds what your current plan can handle.
Troubleshooting Common Deployment Issues
Deployments rarely go perfectly on the first try, and that is normal. Here is how to work through the failures you are most likely to hit.
Fixing a 502 Bad Gateway Error
A 502 error means Nginx received no valid response from Kestrel. It does not mean your code has a bug. The cause usually sits between the proxy and the app, not inside your logic.
- Confirm Kestrel is actually running and listening on the port your app expects.
- Check that the systemd service is active, since a stopped Kestrel process is the most common cause of a 502.
- Match the port in your Nginx
proxy_passline against the port Kestrel binds to in your app settings. - Increase the Nginx proxy timeouts if the app responds slowly, rather than failing outright.
Resolving Port Binding and Address Already in Use Errors
This error shows up when another process already holds the port your app wants. Find that process before you restart anything.
sudo ss -tunlp | grep 5000The output shows the process name and PID using that port. Stop that process, or reassign your app to a different port, then try again.
This error often shows up right after a redeploy when an old Kestrel process from a previous version hasn’t fully shut down.
Fixing Permission Denied Errors
Permission errors usually indicate a mismatch between file ownership and the user that your systemd service runs as. Check ownership of the app folder first.
sudo chown -R deployuser:deployuser /var/www/yourapp

sudo chmod -R 755 /var/www/yourapp
Watch for this error if you try to bind Kestrel directly to port 80 or 443. Linux blocks non-root processes from binding to ports below 1024 by default.
Keep Kestrel on a high port like 5000, then let Nginx handle 80 and 443 instead. This sidesteps the whole problem.
Diagnosing a systemd Service That Fails to Start
When a service refuses to start, check its status first. The short output usually names the exact reason.
sudo systemctl status yourapp.servicePull the fuller logs next for the actual error the app threw on startup.
sudo journalctl -u yourapp.service -n 50 --no-pagerCheck the ExecStart path in your unit file for typos, and confirm the .dll filename matches your latest published build. A stale filename after a redeploy is an easy mistake to make.
Fixing HTTPS and Certificate Binding Errors
Certificate errors on Kestrel almost always trace back to a missing or expired certificate reference, not a code problem. The fix is usually simpler than it looks.
Let Nginx terminate SSL and pass plain HTTP through to Kestrel internally. This setup avoids most certificate configuration on the Kestrel side entirely.
If HTTPS suddenly stops working, run the Certbot renewal command manually first.
sudo certbot renewCheck the Nginx error log if the issue persists. SSL failures usually surface there before anywhere else.
sudo tail -f /var/log/nginx/error.logFAQs
Can ASP.NET run on a Linux VPS?
Yes. Modern ASP.NET Core runs on Linux, macOS, and Windows without any code changes. The older .NET Framework still requires Windows, so check your project’s target framework before you pick a server.
What is the difference between Kestrel and IIS for ASP.NET hosting?
Kestrel is the lightweight web server built into ASP.NET Core, and it runs on every platform the framework supports. IIS is a Windows-only web server that traditionally sits in front of .NET apps on Windows Server. On Linux, Nginx or Apache takes over that job instead.
How much RAM and CPU do you need for an ASP.NET Core application?
A small app runs fine on 1-2 vCPUs and 2 GB of RAM. A busier production API with real traffic should start at 2 or more vCPUs and 4 GB of RAM. Watch your actual usage after launch, then scale based on what you see.
Do you need Nginx or Apache in front of Kestrel?
Kestrel can technically serve requests on its own, but Microsoft recommends placing a reverse proxy in front of it for production. Nginx or Apache provides SSL termination, improved security, and cleaner handling of multiple apps on a single server.
Deploy Your ASP.NET Apps Today
You now have a full path from a blank VPS to a live, secure ASP.NET site, with testing at every stage along the way.
As your app grows beyond the resource limits covered in Step 1, scale up to a larger VPS plan built for production traffic.
That upgrade is the natural next step once your current setup starts to feel tight.