 DomainsFind and register your ideal domain name instantly.
 Web HostingEasy-to-use hosting powered by cPanel — ideal for managing websites in Nigeria.
 Windows HostingRun .NET apps with Windows-optimized hosting
 Affiliate ProgramMake money promoting our services
 Reseller HostingMake money by reselling our hosting products under your own brand
 .COM Domains
 All DomainsExplore all supported tld domains in Nigeria
 WhoisFind out who owns any domain, as well as verify your registration details
 Dedicated ServersReimagine your site speed with your own complete server
 AI Website BuilderDesign your site with drag-and-drop tools
 Online Shop BuilderStart your online shop without code
 Support PortalFind answers or get expert help
 Contact UsReach our team via chat or email
 BlogRead our extensive guides on web hosting and more
Moving hosting providers doesn’t mean rebuilding your website from scratch.
It sounds like a bigger job than it actually is, mainly because there are three separate things that can move independently of each other.
Your website hosting and files, your domain registration, and your email.
You don’t have to move all three at the same time, and in most cases, you shouldn’t rush any of them.
This guide focuses primarily on moving your hosting from WhoGoHost to Truehost.
If you also want to transfer your domain registration, that’s covered separately toward the end, since it runs on its own timeline.
The overall goal here is simple: get your site working on Truehost, test it thoroughly, update your DNS only once you’re confident everything works, and cancel your old WhoGoHost hosting only after the new setup is fully confirmed.
What You Need Before Moving From WhoGoHost to Truehost
Before touching anything, get these in place first.
- An active Truehost hosting plan.
Your new hosting account needs to be ready and provisioned before migration begins, not something you set up midway through the process.
- Access to your WhoGoHost hosting account.
You’ll need working login access to your existing hosting environment, since Truehost’s team will need it to pull your files across.
- A backup of your website.
Even though Truehost handles the migration for you, keeping your own independent backup is simply good practice before any provider change.
- Your domain and DNS access.
This counts especially if your domain stays registered with WhoGoHost while your hosting moves elsewhere, since you’ll need to update DNS records later without needing a full domain transfer.
- Access to your website email.
If your site runs business email through WhoGoHost, make sure you know exactly where those mailboxes and DNS records are currently configured before you start.
Worth noting upfront: Truehost’s migration process requires your current hosting account to remain active throughout, and hosting credentials should be submitted through a support ticket in the client area, not sent as a plain reply to an email.
How to Transfer Hosting From WhoGoHost to Truehost
Step 1: Choose and Purchase Your Truehost Hosting Plan
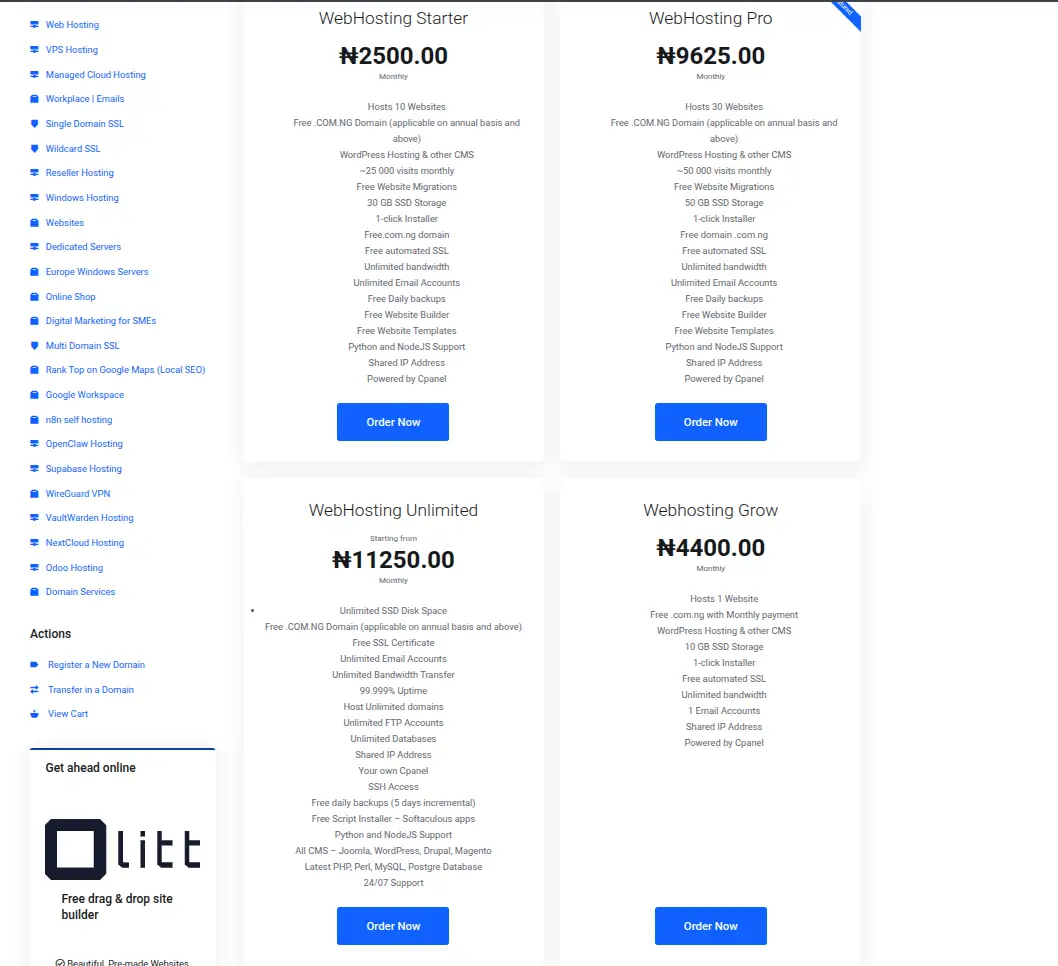
Pick a plan that actually matches what your site needs right now.
Check your current storage usage on WhoGoHost, how many websites you’re hosting, your typical traffic levels, your email account requirements, and your general resource needs.
There’s no reason to jump straight to a much larger, pricier plan than what you’re currently using, match the plan to your actual usage, and you can always upgrade later if your site grows.
Step 2: Request the Website Migration
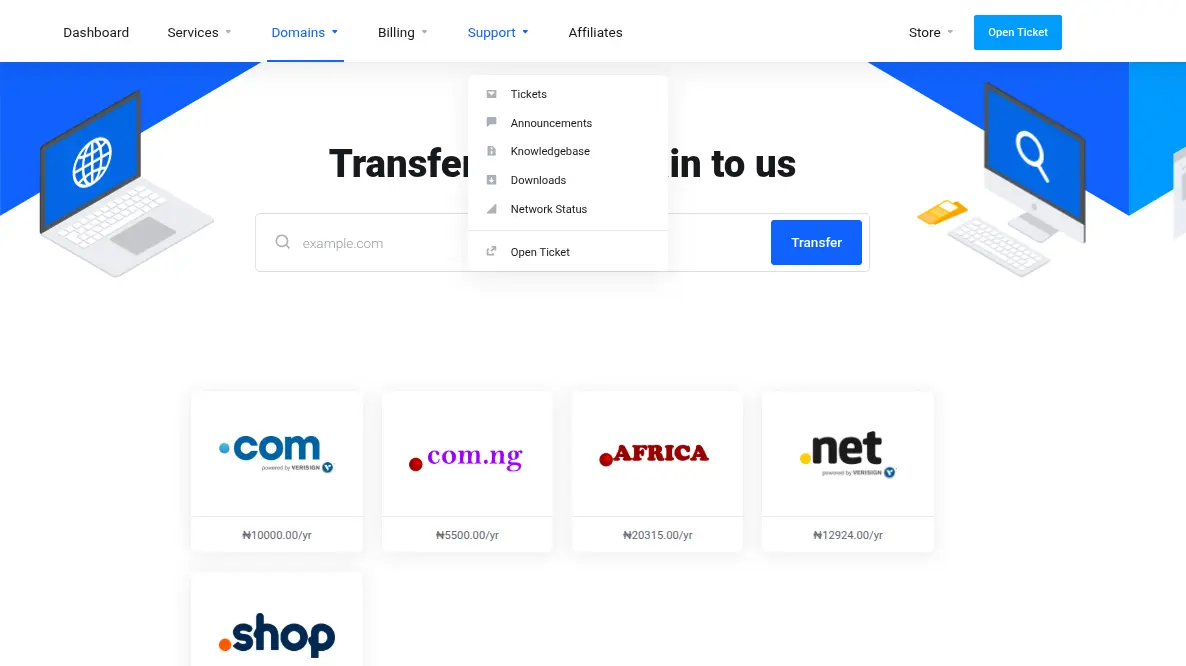
Once your Truehost plan is active, Truehost can handle the file migration for you, provided you give them access to your existing WhoGoHost hosting account.
Following Truehost’s current migration process, you’ll need to submit your hosting credentials through a support ticket in the client area rather than replying to an ordinary email thread.
This is worth taking seriously from a security standpoint.
Never paste your hosting username and password into a public comment, a live chat window, or anywhere outside an authenticated support channel.
Stick to the provider’s official ticketing system, where the exchange is logged and secured properly.
Step 3: Let Truehost Copy Your Website Files
Once your credentials are submitted, Truehost’s migration team gets to work transferring your website files, databases, and any other relevant hosting data across to your new account.
The exact process can vary somewhat depending on your specific website and hosting environment.
A simple HTML site moves differently than a WordPress installation with a large database behind it, but the end goal is the same either way: an exact working copy of your site sitting on Truehost’s servers.
Step 4: Check the Website on the New Hosting Account
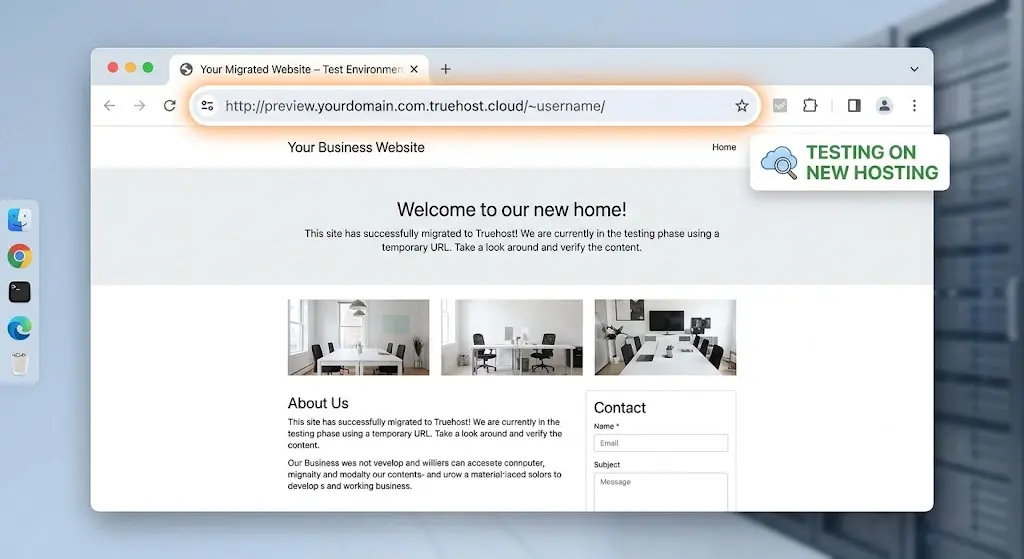
This step counts more than almost anything else in this whole process, so don’t rush it.
Before you touch your DNS settings, test your site thoroughly on the new Truehost hosting account using its temporary URL or IP address.
Check the homepage loads correctly.
Click through to internal pages.
Confirm images are displaying properly. Test any forms on the site to make sure they submit correctly.
If you’re running WordPress, log into the admin dashboard and confirm it works.
Check that your plugins are functioning as expected.
Test any database-driven features, search functionality, user accounts, product listings, whatever your site relies on.
Confirm SSL is working. And test your contact forms specifically, since these often break quietly during a migration without any obvious error message.
Step 5: Test Your Email
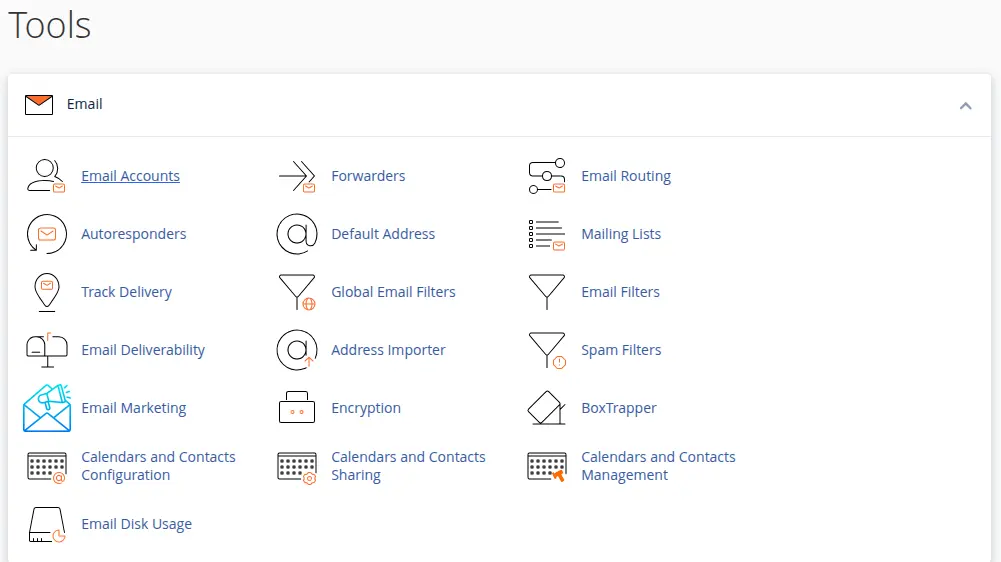
If your email is currently hosted with WhoGoHost, don’t skip this step.
Verify that your existing mailboxes are accessible, that incoming mail is actually arriving, and that outgoing mail sends successfully.
Check your MX records, SPF, DKIM, and DMARC settings are all correctly configured on the new setup if you’re moving email as well.
The goal here is straightforward: you don’t want to discover after switching your DNS that [email protected]m has quietly stopped receiving mail.
That’s exactly the kind of problem that’s easy to prevent with a quick check now, and genuinely painful to untangle after the fact.
Step 6: Update Your Domain’s DNS or Nameservers
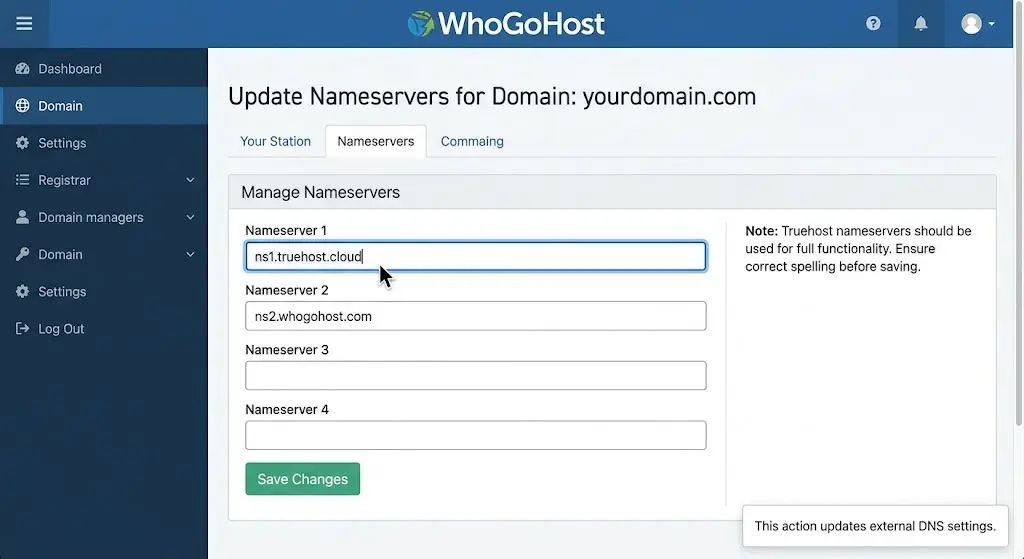
Once you’ve confirmed everything works properly on the new hosting account, it’s time to point your domain toward Truehost.
There are two common approaches here.
You can change your domain’s nameservers entirely to Truehost’s, which is the simpler option if Truehost will be managing your full DNS going forward.
Or you can update individual DNS records instead, keeping your current nameservers in place, which makes more sense if you need finer control over specific records, like keeping email hosted elsewhere while moving just the website.
Which approach makes sense for you depends on how your DNS is currently managed and whether other services, like email, need to stay pointed elsewhere.
Step 7: Wait for DNS Changes to Take Effect
DNS changes don’t apply instantly everywhere across the internet.
Good to know upfront, so you’re not caught off guard.
During this transition window, some visitors may still reach your old WhoGoHost server, while others reach the new Truehost server, depending on caching and how quickly their local DNS resolver picks up the change.
Don’t cancel your old hosting during this period. Keep both environments active and working while DNS changes propagate fully.
Step 8: Test Everything Again
Once enough time has passed for DNS to settle, run through your checks one more time, this time on the live domain rather than the temporary URL.
Check the website loads correctly.
Confirm HTTPS is working without certificate warnings. Test your forms again.
Check images are displaying.
Log into WordPress if applicable. Test your email one more time. Check any subdomains are working.
Confirm redirects are functioning as expected. Test file downloads if your site offers any.
And check that analytics or tracking scripts are still firing correctly on the new setup.
Step 9: Cancel Your WhoGoHost Hosting
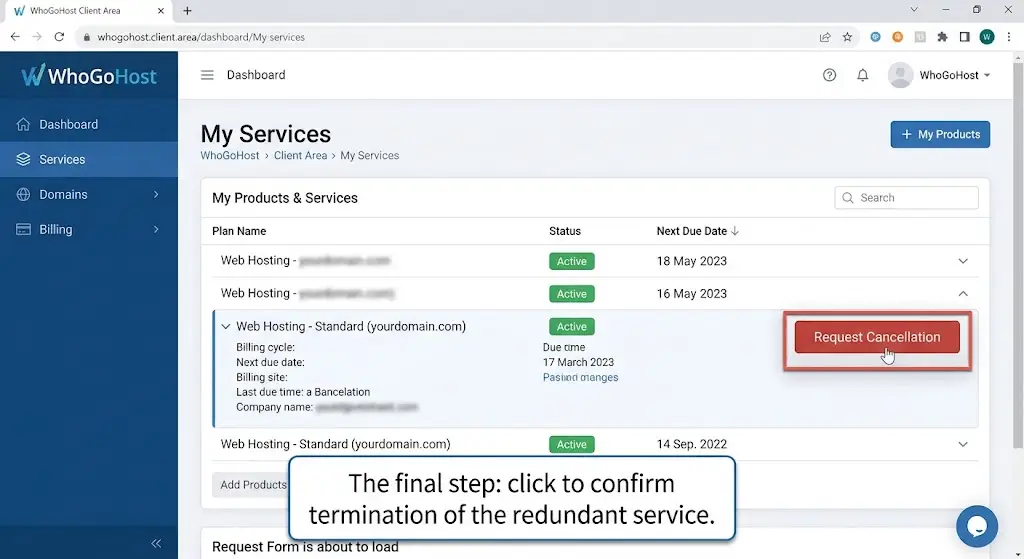
Only cancel your old hosting account once everything above has been thoroughly confirmed working on Truehost.
This is worth emphasizing clearly: don’t cancel WhoGoHost immediately after requesting the migration, and don’t cancel it right after switching DNS either.
Keep the old account active until your website and email have both been confirmed working reliably from the new setup, ideally for at least a few days, so you have a safety net if something unexpected surfaces.
How Long Does It Take to Move From WhoGoHost to Truehost?
There’s no single universal timeline here, since it depends heavily on your specific site, but here’s roughly what affects each phase.
- Website migration timing depends on your website’s overall size, how many files it contains, whether there’s a large database involved, how much email needs to move alongside it, and the general complexity of your hosting environment. A simple site with a handful of pages moves considerably faster than a large WordPress store with years of accumulated content and orders.
- DNS changes take their own time to propagate across the internet, and this genuinely varies based on your domain’s existing DNS settings and how quickly different DNS resolvers around the world pick up the update.
- Domain transfer, if you’re moving that too, runs on an entirely separate timeline with its own requirements, generally involving an authorization code from your current registrar and a waiting period set by domain registry rules. It’s worth avoiding any promise of an exact universal migration time, since every one of these factors can shift the overall timeline meaningfully.
Will My Website Go Offline When I Move From WhoGoHost to Truehost?
Downtime can often be minimized considerably, though it’s rarely possible to guarantee zero downtime in every single scenario.
The steps that genuinely help keep it minimal: setting up your Truehost account fully before touching anything else, migrating the website first, testing it thoroughly before making any DNS changes, updating DNS only once the new site is confirmed ready, and keeping your old WhoGoHost hosting active throughout the entire transition window rather than canceling early.
Truehost specifically recommends coordinating your DNS changes carefully around any domain transfer as well, since doing so helps avoid downtime that can otherwise occur when a domain move and a hosting move happen in an uncoordinated way.
Common Problems After a Hosting Migration
| Problem | Likely Cause |
|---|---|
| Website shows an error | DNS still pointing incorrectly, a database connection issue, incorrectly transferred files, or a PHP version mismatch between the old and new server |
| Images are missing | Broken file paths after the move, incomplete file transfer, or images referenced by absolute URLs pointing back to the old server |
| WordPress shows a database error | Database credentials in wp-config.php not updated to match the new server, or an incomplete database import |
| SSL isn’t working | Certificate not yet reissued for the domain on the new server, or DNS not fully propagated to the new hosting IP |
| Email stops working | MX records not updated correctly, or email still configured to point at the old WhoGoHost mail servers |
| Some visitors still see the old website | Normal DNS propagation delay, some visitors’ DNS resolvers haven’t picked up the change yet |
| Website works but some plugins don’t | Server software or PHP version differences between WhoGoHost and Truehost, or file permission issues after transfer |
Moving Your Website From WhoGoHost to Truehost
Once you’ve worked through the checklist and the actual transfer steps above, moving from WhoGoHost to Truehost comes down to patience more than complexity.
Set things up properly, test before you switch anything live, and keep your old hosting active until you’re genuinely confident the new setup works.
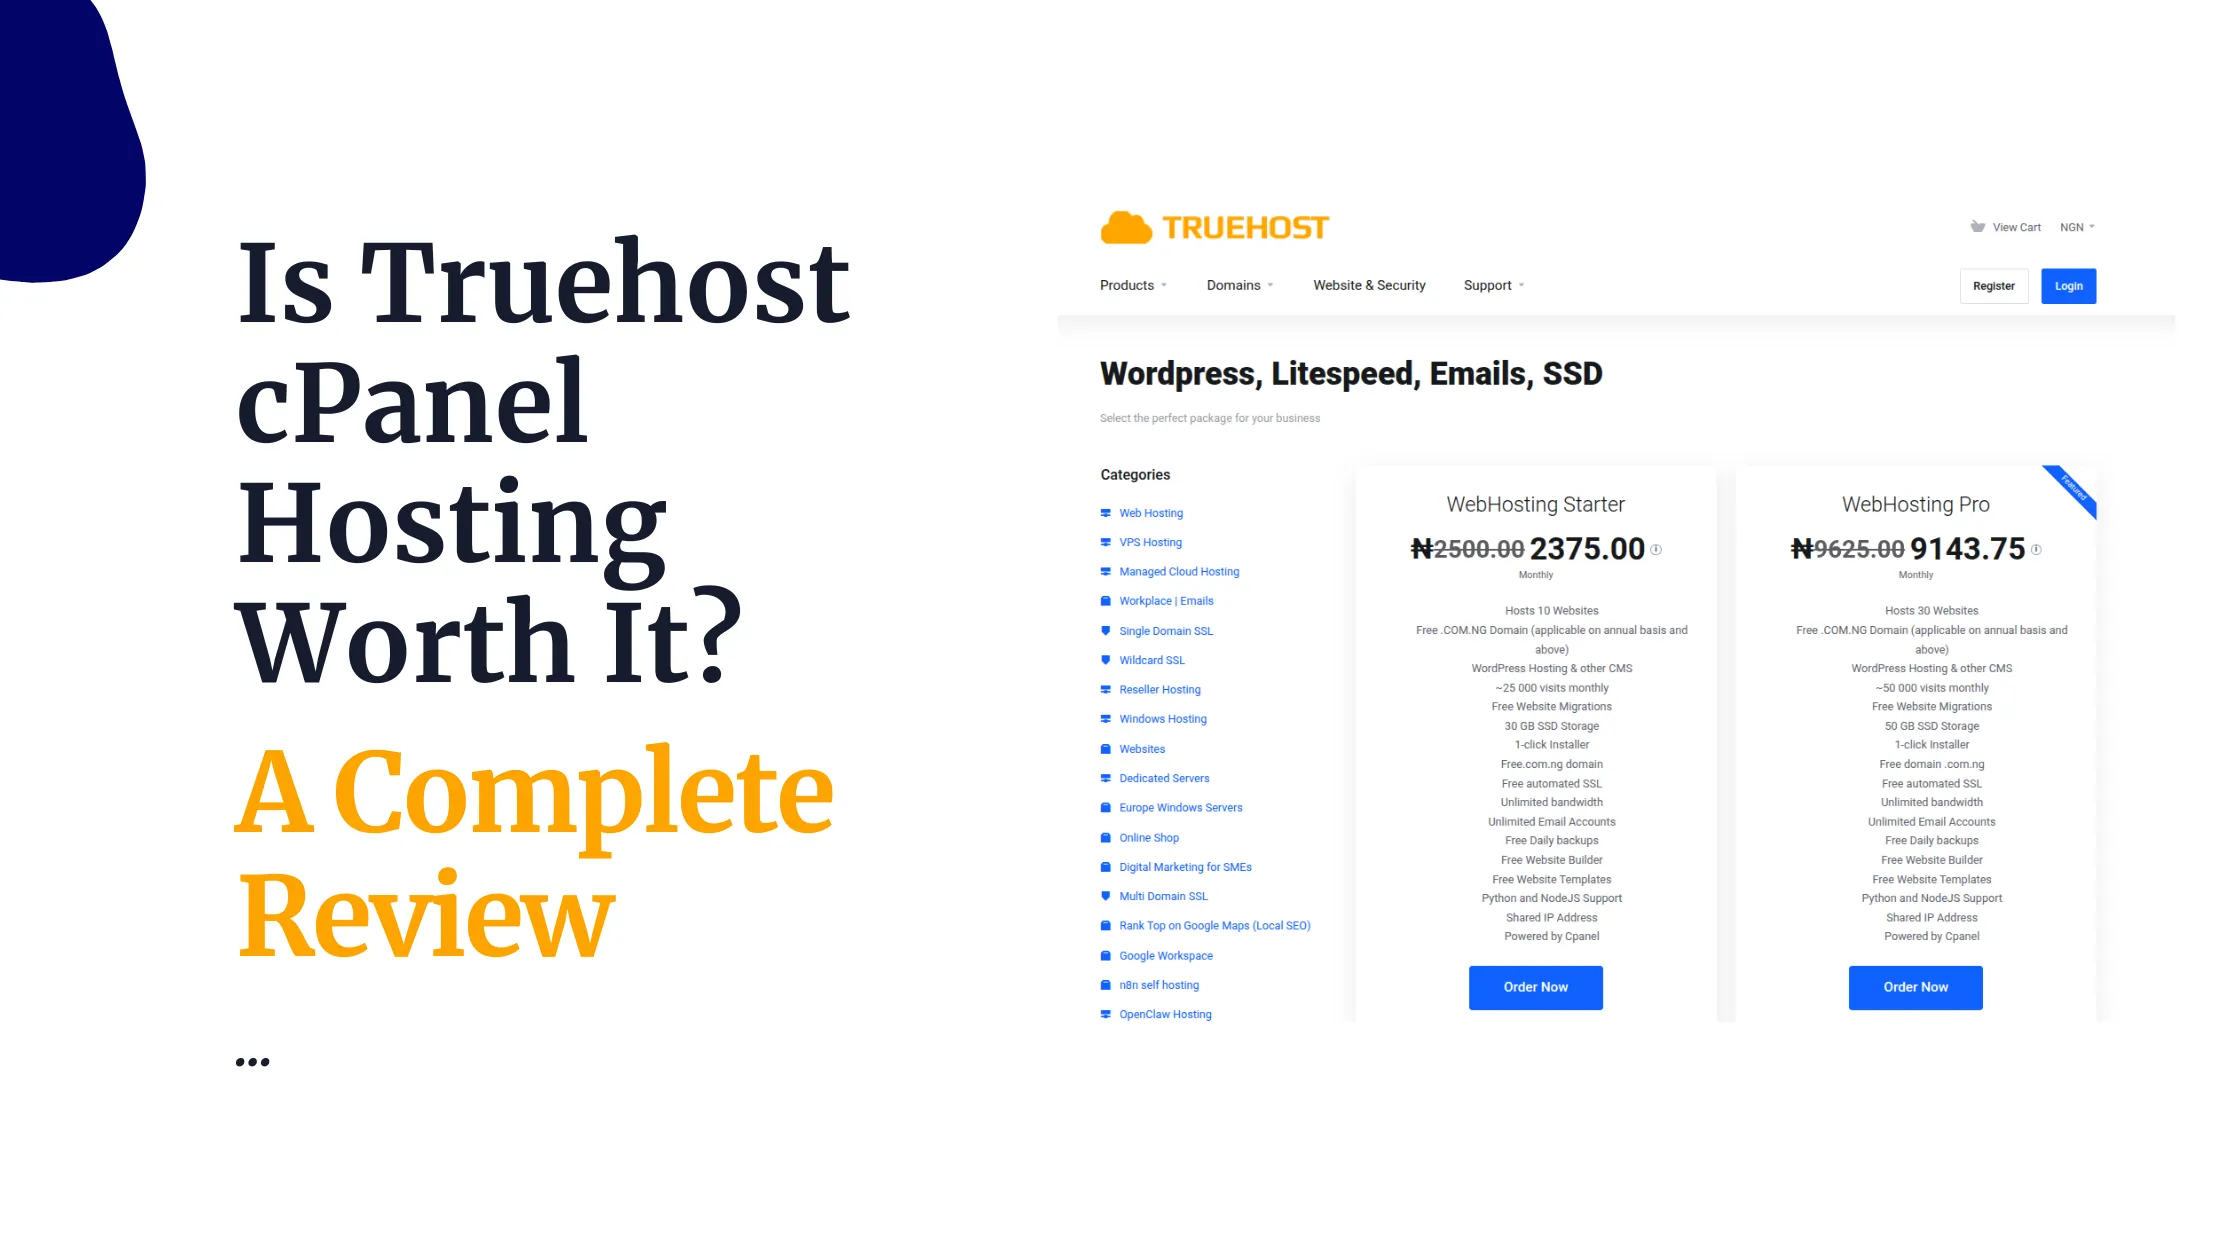
If you’re ready to get started, Truehost’s shared hosting plans come with free migration support built in, so their team can handle the file transfer for you once your account is set up.
Choose a Truehost shared hosting plan and get your migration started with proper support behind you every step of the way.